发现一块闲置的1.8寸ST7735的TFT屏幕,刚好还有一块esp8266板子,想到做一个时钟玩玩。
接线问题
笔者通过查找资料后,用下方接线方式成功驱动。
| ESP8266 | TFT屏 | |
|---|---|---|
| 3.3V | —— | LED |
| D5 | —— | SCK |
| 7D | —— | SDA |
| D3 | —— | A 0 |
| D4 | —— | RESET |
| D8 | —— | C S |
| GND | —— | GND |
| VCC | —— | 3.3V |
TFT_eSPI库更改
这时直接烧录代码大概率时知识屏幕亮了,但是不显示想要显示的内容,这是因为还要更改TFT_eSPI库中的User_Setup.h文件。
1、选择自己屏幕的驱动,不知道的可以看屏幕上的信息或者询问商家。将驱动那行取消即可。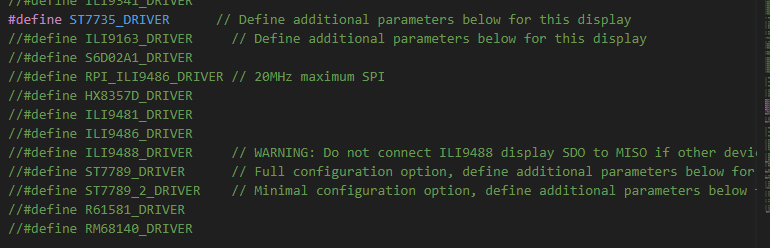
2、选择自己屏幕的尺寸。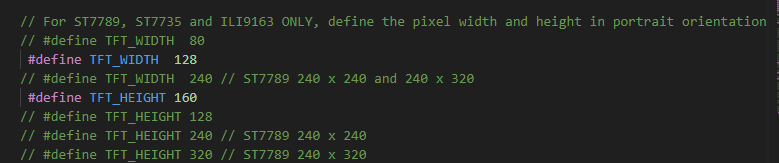
3、接线设置。默认的和下方是不一样的,经过前两项如果还不可以的话可以改成下方所示。

时钟示例代码
代码为在太极创客教程的基础上进行更改。
若不可复制可点击此处获取代码
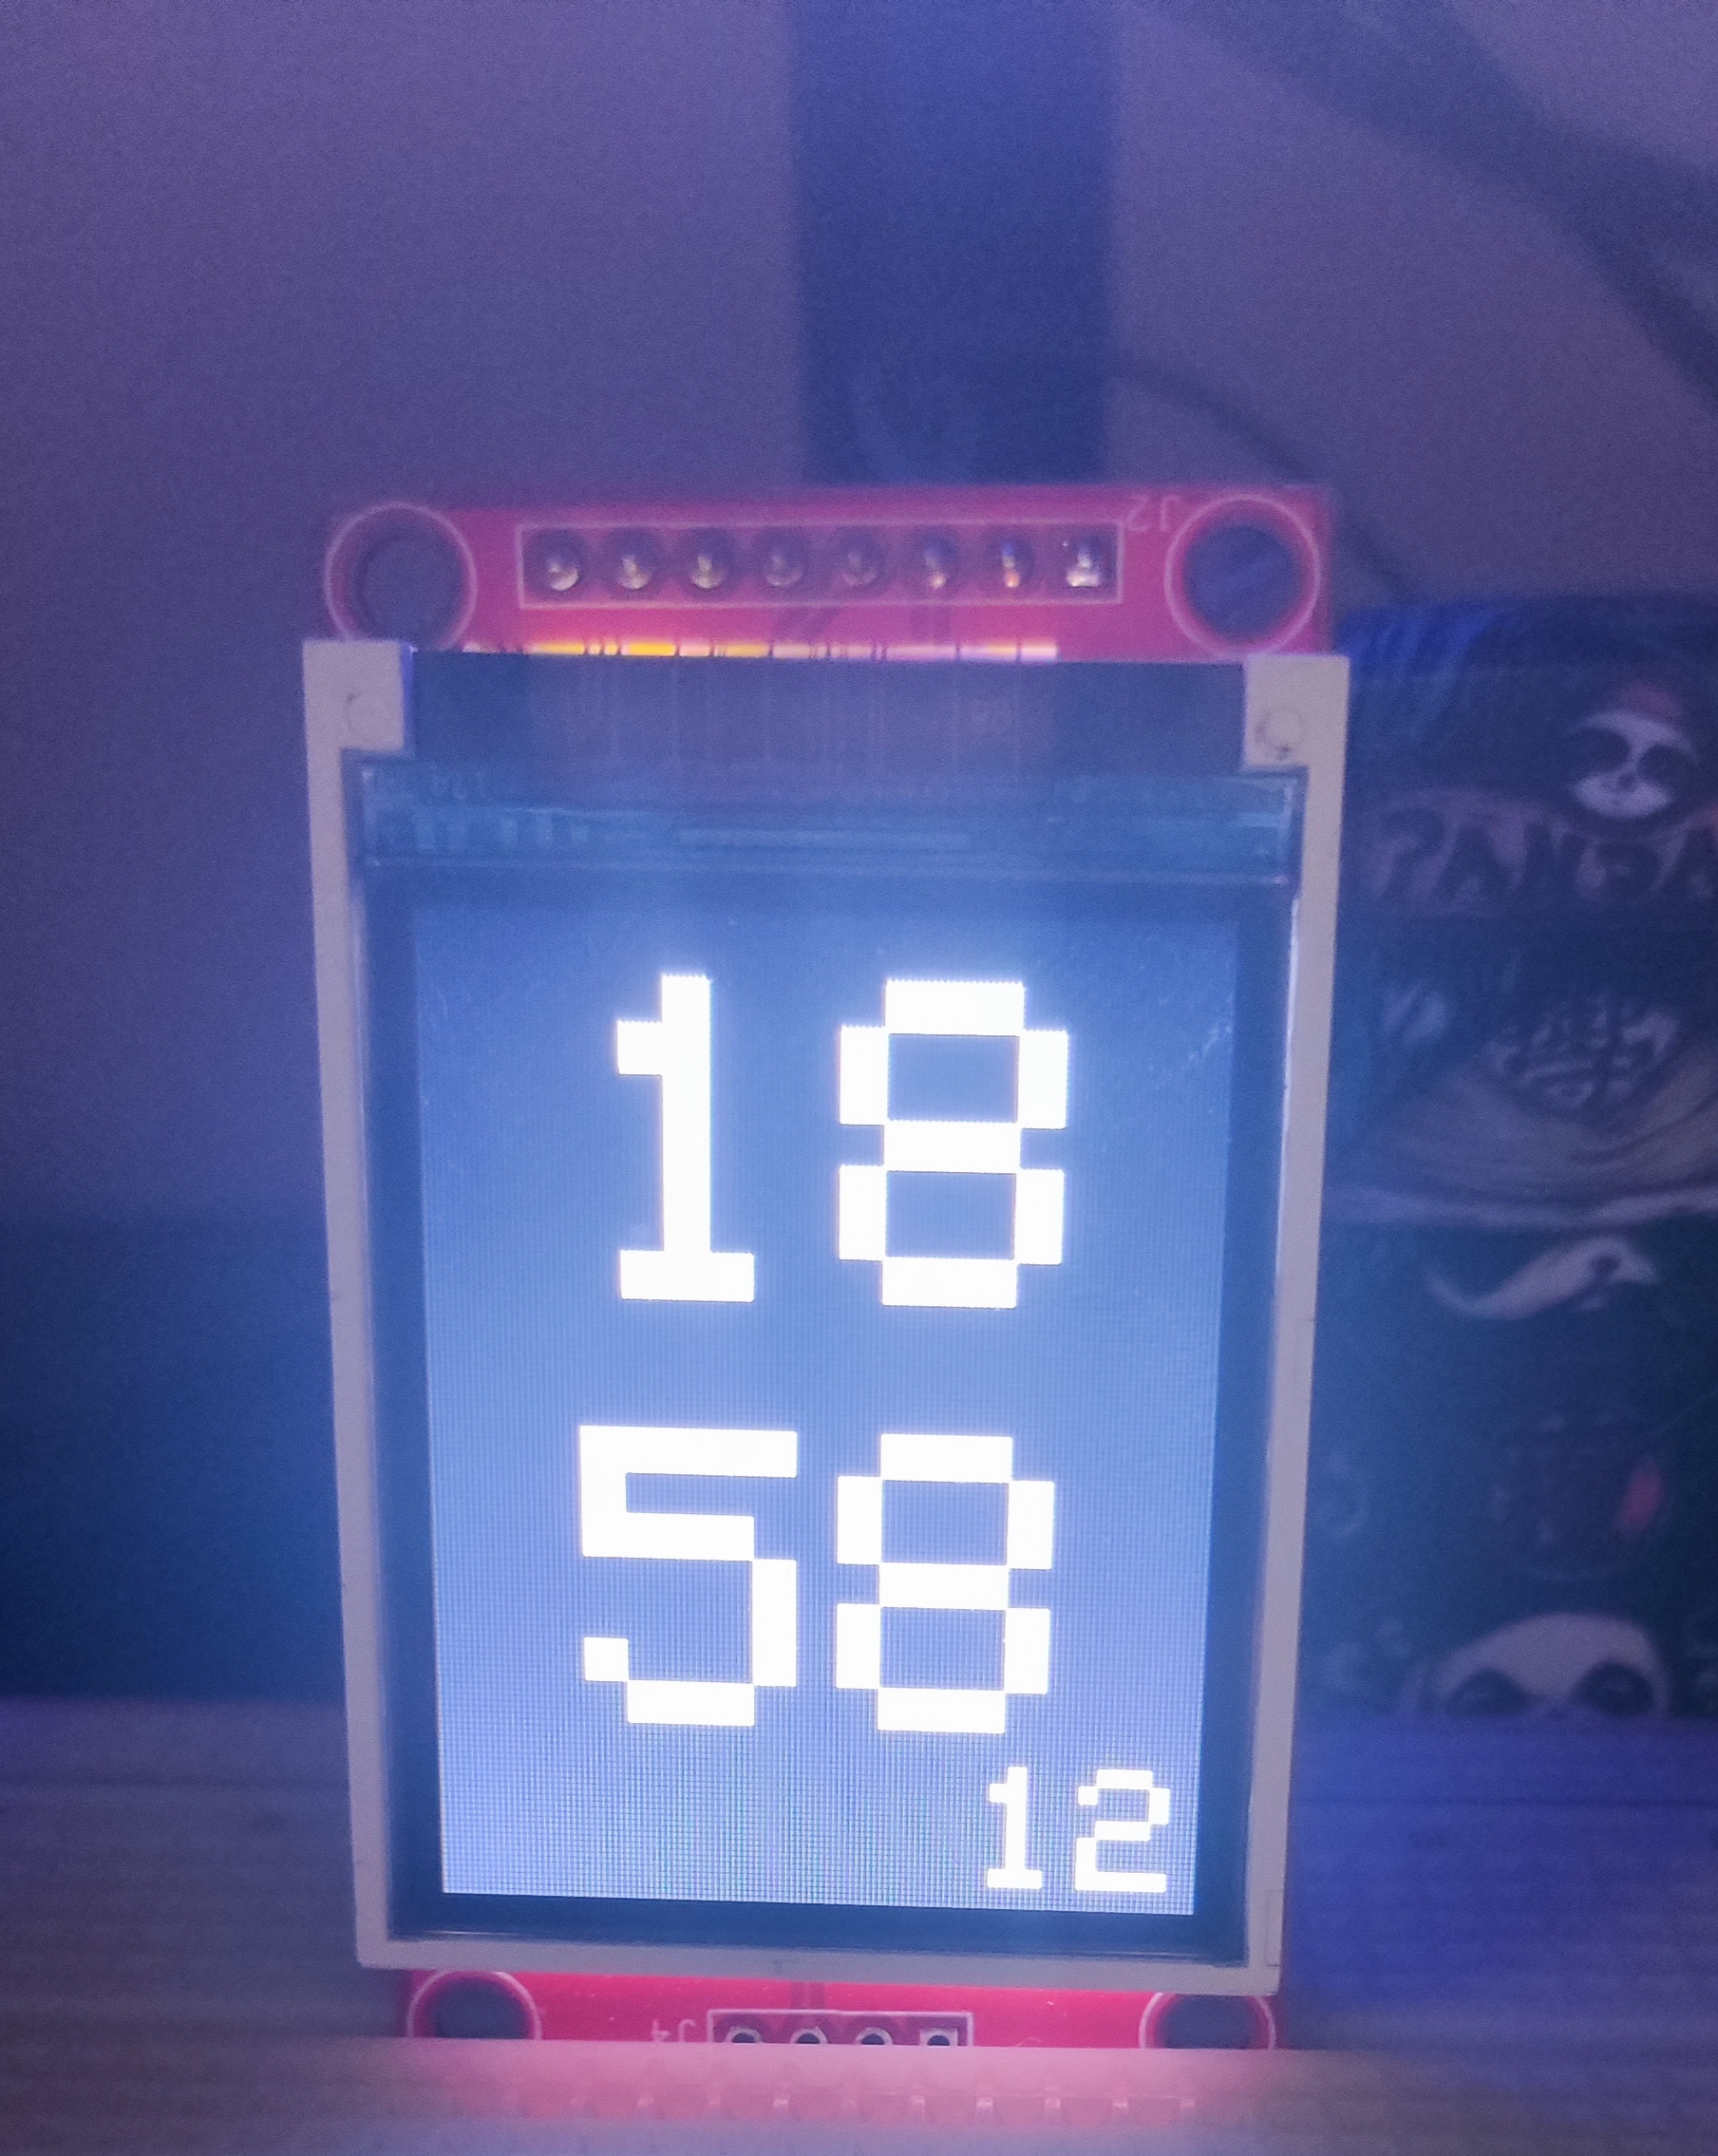
效果如图
1 |
|
结语
笔者文笔功力有限,还请见谅。如有问题还请指出。